May 27, 2018
Bloom the tutorial!
Hello! A step by step to start the week off right, does that tempt you? Then welcome here, I suggest you take a look back with you in photos at the assembly steps of the Bloom dress/shirt pattern. This is a blouse version that I will sew, but the principle is absolutely the same as for the dress version. This blouse version is very classic, sewn in a pretty striped cotton, perfect for summer and very versatile.  And since I'm playful, I alternated the direction of the stripes to highlight the back yoke. Yes, I know "but what madness!!!!!". The length of the blouse allows you to tuck it into your pants, here I chose to wear my Embrun pants and I find that tying the top is nicer.


 On these good words, hang on to your machines, here is the step by step: as a preamble, my choice of fabric means that I did not interface my pieces. If you choose a lighter or "softer" fabric, you will have to iron on your neckline and back flap facings, as well as your armhole trims. And sew a fabric that marks with an iron, this will make your work easier and you will have more beautiful scallops, which is the real tricky point of the pattern but also what makes it so pretty ;)


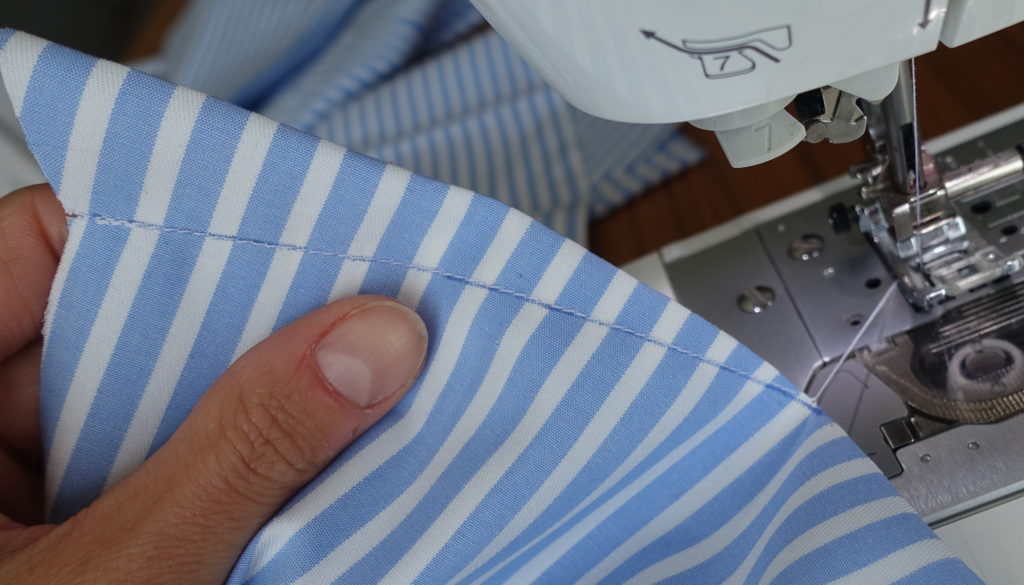






 Turn right side out (facing side visible inside your dress) and iron well. Hem your dress/blouse. Here I show you a very discreet and especially practical hem for managing rounded bottoms of garments: sew a first fold of 0.5 cm, then iron well and fold back 0.5 cm using your first seam. On the wrong side you have 2 seams and on the right side only one.


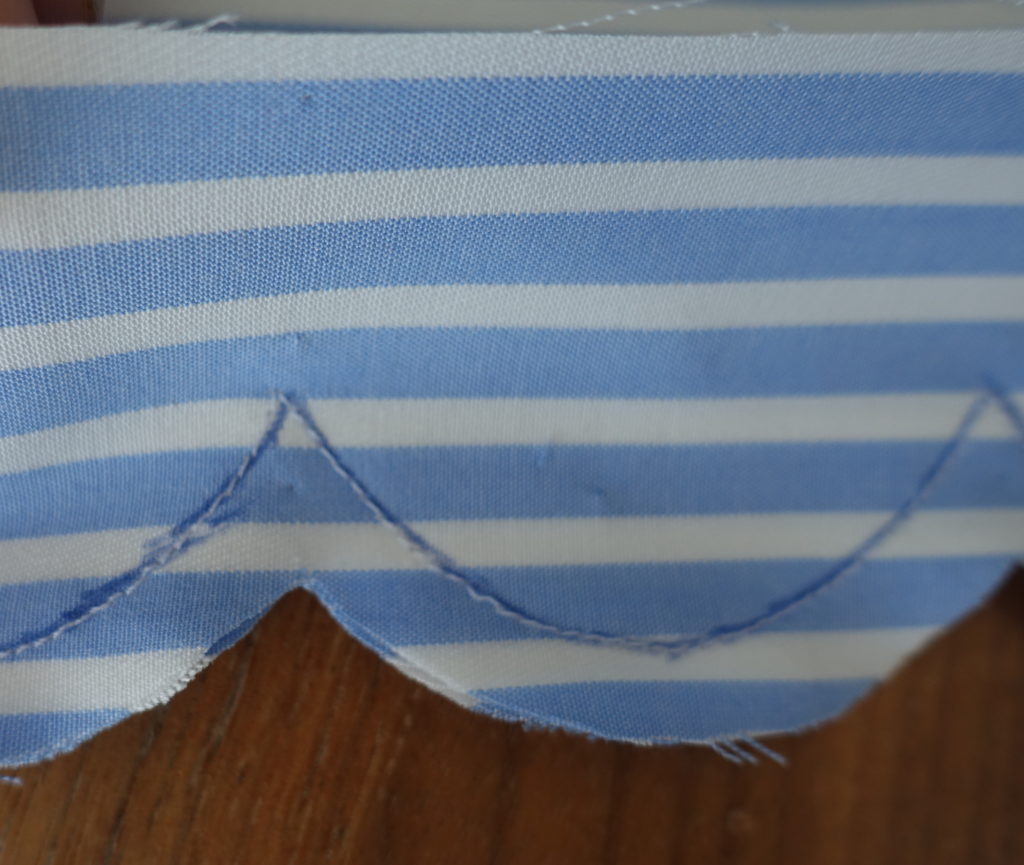
 Just like for the back flap, draw the outline of the future seam along your scallops on the front seam with tailor's chalk or erasable marker. Overlock the outside of your assembled armhole seam.


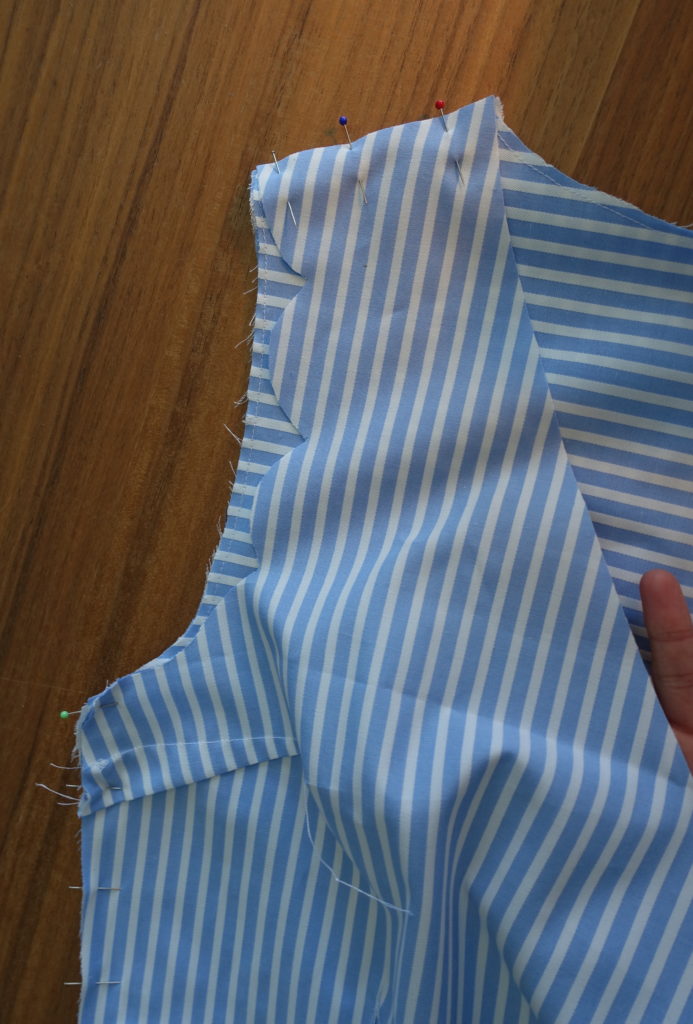
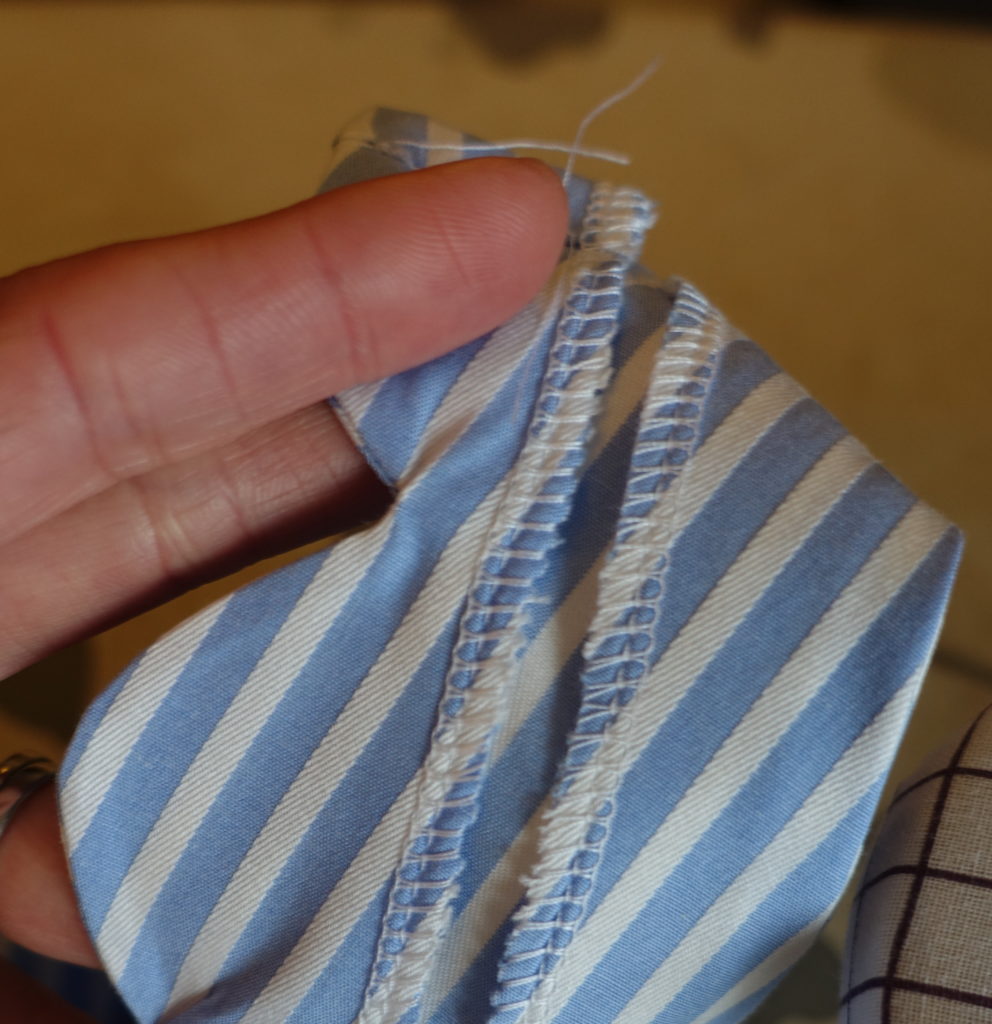 To attach your facings/trims: stitch along the shoulder seam to assemble the garment with the facing/trim (your seam is the same as the shoulder seam and will not be seen). Do the same with the underarm seam. And to prevent your armhole trim from moving, I advise you to attach it with an invisible stitch by hand. Also stitch your back seam allowance 0.5 cm apart with your back facing so that it does not move or come out.


 Now all you have to do is make your buttonholes and sew your prettiest buttons. Put on your pretty Bloom, for a summer that sings with little airs of Dolce Vita, because you are irresistible!
 And since I'm playful, I alternated the direction of the stripes to highlight the back yoke. Yes, I know "but what madness!!!!!". The length of the blouse allows you to tuck it into your pants, here I chose to wear my Embrun pants and I find that tying the top is nicer.


 On these good words, hang on to your machines, here is the step by step: as a preamble, my choice of fabric means that I did not interface my pieces. If you choose a lighter or "softer" fabric, you will have to iron on your neckline and back flap facings, as well as your armhole trims. And sew a fabric that marks with an iron, this will make your work easier and you will have more beautiful scallops, which is the real tricky point of the pattern but also what makes it so pretty ;)
- Making the bust darts on the front piece : pin after matching the assembly notches. Don't hesitate to trace the sewing area with tailor's chalk or an erasable marker such as Pilot Frixion (can be ironed out!!!) or you can baste it with a large stitch, sew from the edge of the garment and finish the tip of your dart by dying along the line on the last 2 stitches. Iron your darts down.


- Double darts front and back : after having carefully marked your marks on your fabric, fold your fabric right side against right side along the central line of the dart. Start from the top of the dart, and follow the outline, finish with several stitches in the air and make a small knot.


- Preparing the back bib : on the wrong side of your bib facing, draw the outline of the future seam along your scallops using tailor's chalk or an erasable marker. Overlock the top of the facing.


- Place your facing right side against right side on your facing, sew your scallops. Notch your curves well, trim your corners, turn over and iron by taking out your scallops using a round-tipped instrument to shape them nicely. Don't hesitate to crush the fabric in the scallops by rolling it between your fingers; you will obtain more beautiful curves.


- Assemble your bib on the back piece, wrong side bib against right side, sewing the sides, armholes and neckline (sew inside the seam allowance, so when you assemble your garment this seam will be invisible).


- Assembling the dress/blouse: Assemble your front and back right sides together at the shoulders and sides. Overlock your seams.

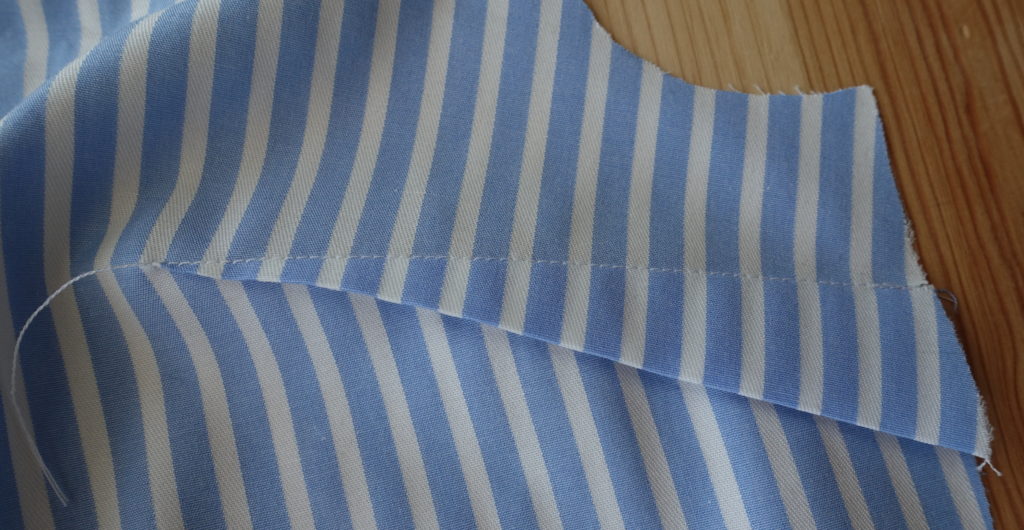
- Assemble your front and back facing pieces right sides together. Overlock the entire “outside” edge of your facing. Position the facing right sides together on the garment, using the markings (center back, shoulder seam that corresponds to the front/back facing seam). Sew, notch your curves and trim the corner of the neckline.


 Turn right side out (facing side visible inside your dress) and iron well. Hem your dress/blouse. Here I show you a very discreet and especially practical hem for managing rounded bottoms of garments: sew a first fold of 0.5 cm, then iron well and fold back 0.5 cm using your first seam. On the wrong side you have 2 seams and on the right side only one.


- Armholes : assemble your front and back armhole pieces right sides together (don't forget to mark the top and bottom of your pieces).
 Just like for the back flap, draw the outline of the future seam along your scallops on the front seam with tailor's chalk or erasable marker. Overlock the outside of your assembled armhole seam.
- Place your cleanliness on your armhole right side against right side and sew while respecting the outline of the scallops. Notch your curves well, trim your corners, turn over and iron by taking out your scallops using a round-tipped instrument to shape them nicely.


 To attach your facings/trims: stitch along the shoulder seam to assemble the garment with the facing/trim (your seam is the same as the shoulder seam and will not be seen). Do the same with the underarm seam. And to prevent your armhole trim from moving, I advise you to attach it with an invisible stitch by hand. Also stitch your back seam allowance 0.5 cm apart with your back facing so that it does not move or come out.


 Now all you have to do is make your buttonholes and sew your prettiest buttons. Put on your pretty Bloom, for a summer that sings with little airs of Dolce Vita, because you are irresistible!


