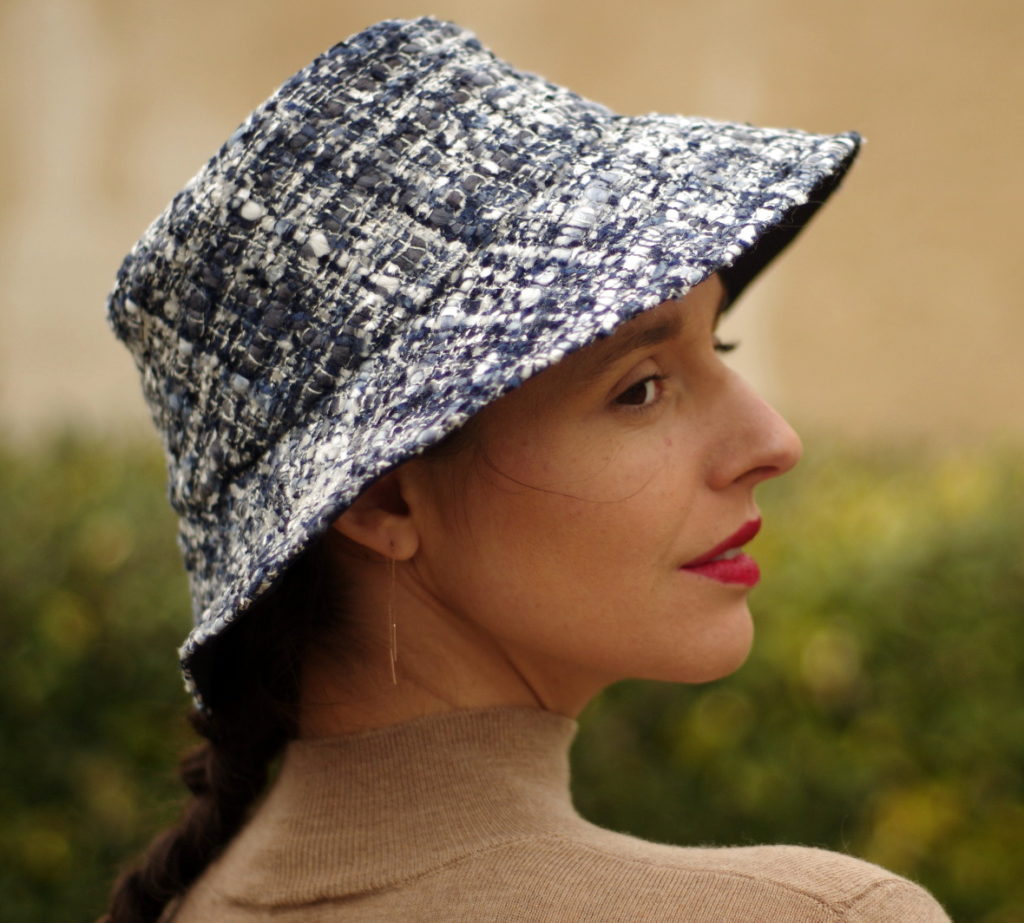
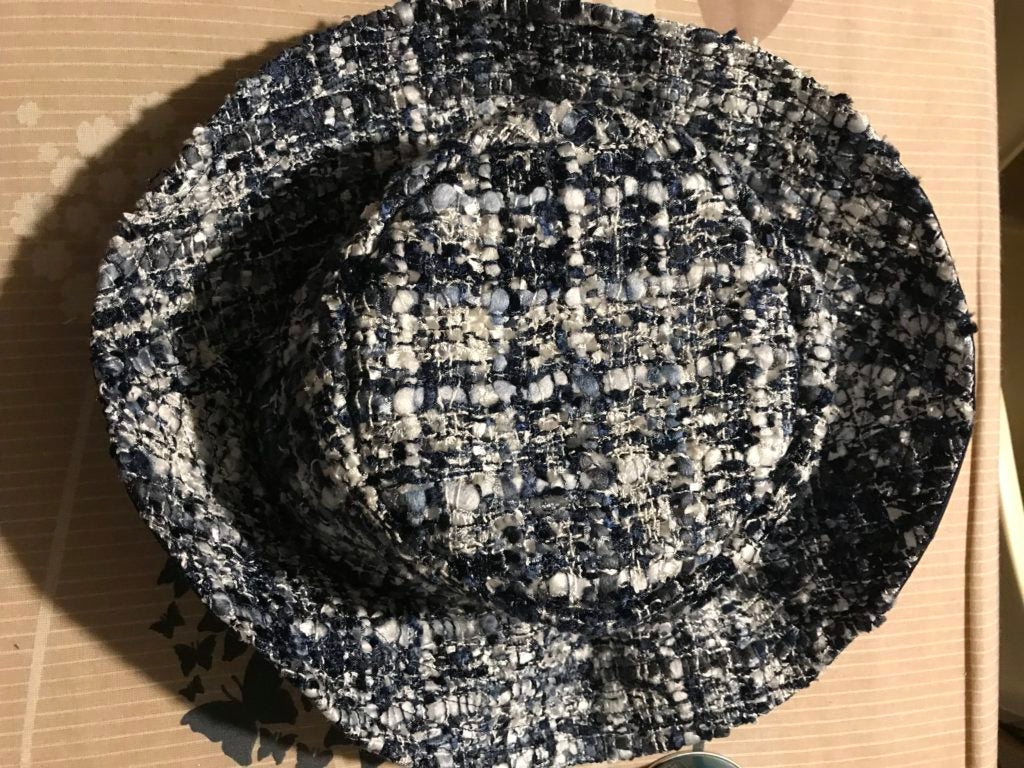
A bit of tweed for a crazy look...the Fauve bob tutorial!


 This fabric is beautiful (and I'm definitely going to splurge a lot to sew myself a jacket or a windbreaker...a new Maison Fauve windbreaker...coming soon!). I'll give you the link to the fabric HERE Stragier also offers a whole selection of interfacings, and I chose this one, to fully interfacing the tweed. This prevented it from fraying, and above all this thermo provided the necessary rigidity to the pattern. The thermo can be found HERE

Come on, on track, here is the step by step photo of the Bob Fauve assembly:
Before your sewing steps, remember to heat-seal your pieces. Also transfer the pattern marks A and B onto the pieces on the side.- Assemble your top pieces of bob fabric and lining, wrong side to wrong side, and within the seam allowance (approximately 0.7 cm).


- Close your piece on the fabric side by folding it right side against right side. Open the seam well with the iron.
Do the same with your lining side piece. Assemble your pieces within the seam allowance (approximately 0.7 cm) wrong side to wrong side, making sure to align the seams of each piece. 
3. Assemble edge to edge and fabric against fabric your top and side of the bob according to the areas marked in B. Position the vertical seam of your “side” piece opposite the small notch marked on the “top” of the bob, this will be the center mark of the back head. 

Applying the bias
Your assembly seam is on the lining side of the bob, these are the seams that you will enclose in the bias. Open the bias and pin it right side of the bias against right side of the "side" part or the "top" part (this is the case in these photos, but if you follow the diagrams you pin from the side, the result will be the same) all around seam B. Sew 1 mm from the upper fold of the bias.

 Turn the bias tape over and make a stitch 2mm from the fabric-bias tape junction: you sew the bias tape with the seam allowance of B so the bias tape will be in place once folded inside.


 Turn the bias inside the seam. So we find fabric and bias wrong side against wrong side. Fill the bias and iron. Stitch 2mm from the bottom edge. Your seam allowance will now be enclosed in the bias, it will not fray.
 4. The visor: Assemble your fabric visor pieces right side against right side edge to edge. Open the seams with an iron. Do the same for the lining.
 Place your fabric and lining visors right side against right side and sew 1 cm apart along the entire outer edge, matching the side seams of the pieces. Notch the curve well, trim the corners, and turn right side out. Iron well.


 On the right side of the visor, you can make regular topstitching: this will have the effect of stabilizing your pieces, bringing a little more rigidity but also, a decorative effect. The spacing of the topstitching, and their number will therefore be according to your tastes and desires (you can even stitch with a contrasting thread to highlight the topstitching lines).
 Assemble the visor (edge A) and the side (edge A) fabric against fabric. To correctly position the visor piece : the seam on the side portion of the bucket hat corresponds to the middle back, and you have on your “side” piece pattern along edge A small notches which correspond to the side seams of the visor.

 Here again, place a bias to enclose this seam using the method described above, on the lining side (where seam allowance A is located).

 A good iron, and it's done! Your FAUVE bob is finished...youhou it's a headgear that you will never leave (folded in the bag, to take out in winter and summer!). There you go, it's your turn, I can't wait to discover your versions! And you, are you more of a velvet, tweed, gabardine or coated canvas person?!
1 comment
Très très beau le bob bravo. Avez vous un tuto vidéo pour ce bob? J’ai beaucoup de difficulté à suivre le pas à pas. Je suis débutante et j adore vous suivre.
Est ce possible de mettre le côté du bob moins haut? Si oui comment on peut ajuster le patron pour qu’il puisse avoir une hauteur de +/- 8 à 9 cm.
Est ce que la marge de couture est de 1 cm?
Merci et bonne journée
Lyne (Québec, Canada)


